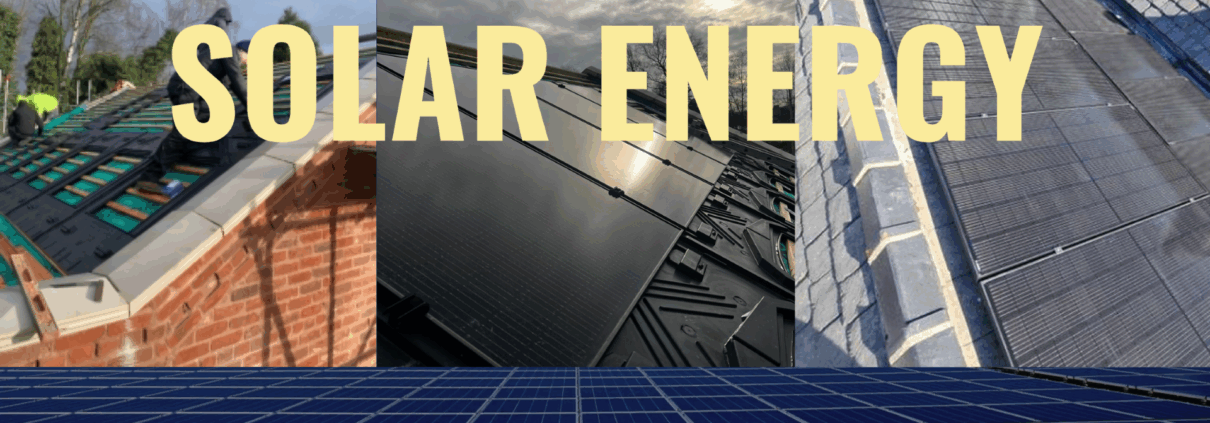
An in-depth, step-by-step on how Synergy install Solar Panels and Brackets.
Ready to Go Solar? Let’s Get Started.
Before we begin your solar installation, we need just a few key details to make sure your system is perfectly tailored to your property:
- How much sun does your property get per day or on average?
- Whether you want to install the system on a building or a platform.
If the panels are roof-mounted, a roof racking system is first installed. A ground platform is needed if the panels are ground mounted.
Solar Installation Process: Step-by-Step
Step 1: Finding an Efficient Location
The goal is to find the best location for the array to receive the most the sun and the best quality sunlight. The ideal location may be the roof of your house, garage, or barn. Alternatively, it may be on a platform on the ground. For most areas, a direct southern view is the best. Not only is the location about harnessing as much sunlight as possible but also about keeping the distance between the array and house as short as possible. The longer the distance that energy must travel, the more energy lost.
Step 2: Run the Conduit
The conduit connects the solar panel or array to the house or battery backup system. We can dig the trench or run the pipes at the start or at the end of the process. We usually do all of that first by running the wires through the conduit and leaving them unattached until we are ready to connect them.
Step 3: Finding a Solid Foundation
We always start with a solid foundation, which is essential to add solar panels to a roof or ground platform. For a roof installation, lag bolts are attached to the rafters, and a piece of flashing is used on top of the shingles to prevent leaks. The flashing slides under the shingle wherever a lag bolt installation occurs.
For roof installations, the frame is secured to lag bolts, which are anchored into the roof rafters. This creates a strong, stable attachment to the building while still allowing the frame to be removed if roof repairs are needed.
For ground platforms, we need to start with a solid concrete base for the platform. We recommend following the building code for your area as there will likely be an inspection. The building codes usually spell out what you need such as 4×4 posts or another type of lumber to mount the frame.
Step 4: Mounting the Panels
In short, the solar panels connect to a roof-mounted frame. The solar panels sit on the frame and are clamped with either a bolt, bracket, or other clamping devices.
The hardest part about installing roof panels is installing the lag bolts which attach the frame to the roof. These bolts attach to the roofing rafters and a piece of flashing.
How we mount the panels to the frames is dependent upon what type of panels you decide to have. For example, suppose the positive and negative connections are close or far apart.
Another crucial factor is the design you choose for wiring the panels to the other components. For example, you can opt to wire:
- In a series and form a string.
- In parallel, such as with a microinverter.
- Or in a hybrid formation.
How we install the solar panel brackets:
Solar Panel brackets are a nut and bolt attachment. They come in a variety of styles, and each is slightly different. Many slide onto the solar frame railings and then tighten to hold the panel in place.
The end brackets will have a spot to hold a single panel, and the middle brackets will have a spot to secure two panels. The basic is to position the bracket to capture the panel and then tighten the bolt that clamps the bracket to the panel.
For roof applications, we need to wire the panels as we install them. Many styles of solar panels for roof applications will have a hinge that allows the panel to swing up so that we can access the roof, frame, and the rear side of the solar panel. This is an advantage over a clamp system.
Step 5: How we install Solar Panels and Inverters
The focus here is to connect the solar panel to the inverter. This means that the solar array is grid-tied and without a battery backup system. If a battery backup system is in place, we will connect the solar panels to a solar controller to prevent overcharging batteries.
Generally, the wires from the solar panels run through a conduit to the inverter. Where we attach the inline fuse unit and then the fuse unit to the inverter.
Step 6: Wiring the System and Components
The panels need to be wired together to form pairs or a string. The process involves stripping the wires and then wiring them to the solar panel. These wires will run to a junction connector or into a fuse or circuit breaker. The wiring point, fuse box, circuit breaker, or junction box is connected to the conduit wire. When it comes down to the wiring, we are professionals. We find having ferrules and shrink sleeves handy. If the connecting box has slots where the wire inserts into the slot and is then locked into place with a screw lamp, then a ferrule is handy, especially where the wire is a twisted bundle of smaller wires.
The heat-shrink sleeve re-establishes the wire seal so that accidental grounding does not occur.
Step 7: Ground the System, including the Panels and the Mounting System.
It is essential your full solar system is grounded. What grounding does is shuttles electricity away from you, your solar panel, and your solar components. Too much electricity or an accidental ground can cause electrocution, destroy the solar panels and components, and cause electrical fires. Therefore, a proper earth ground will prevent many tragic events.
Each solar component that attaches to the circuit must also receive a ground. That includes any electrical device on the system that is inside your home too!
Step 8: Form the Circuit by Connecting the Electrical Components
This step varies depending on the configuration of the solar array. For example, if you have a solar battery backup, then there will be more components. We start with the following:
- Solar controller if you have a battery backup. We use an inline fuse to protect the controller from spikes in power.
- Next, we connect the solar controller to the battery backup system and then the battery backup system to the inverter and then to the house or energy destination.
Many of these components use a screw clamp to hold individual wires in place. We tend to use ferrules and heat shrink covers to make the connection more manageable, more secure and a lot safer.
Step 9: Test the System
Before testing the system, we check all electrical connections, make sure the wiring is correct, and confirm that everything is properly grounded.
The goal is to complete the circuit and turn on the power while checking that everything is working as it should; once we are 100% that the system is operating correctly, we power it up to full power and inspect it once more.
After this, the system should produce electricity, store energy, convert or invert the energy from DC to AC and then power your home (if only it was as simple as that!)
Interested in powering your home with clean, reliable solar energy?
Let’s make it happen. contact us today!


